Flooring Choices
The David Morejon Flooring Company specializes in many types of flooring. Each type has its own unique characteristics and benefits, so it’s important to understand the differences before making a decision.
Hardwood flooring is known for its natural beauty and durability. It adds warmth and elegance to any space and with proper care, can last for generations. Hardwood is available in different species, such as oak, maple, and cherry, each with its own distinct grain patterns and colors. It is relatively easy to clean and can periodically be refinished to restore its original luster.
Whether natural stones, ceramic, or porcelain, tiles come in various sizes, shapes, and colors, allowing customized looks for your floors. Tiles are an excellent choice for high-traffic areas, such as kitchens and bathrooms, ceramics and porcelain are also resistant to stains and scratches.
Vinyl flooring is a versatile and cost-effective option. Vinyl can mimic the look of hardwood or tiles at a fraction of the cost. Vinyl is available in different styles, including planks and tiles, and comes in a variety of colors and patterns. Vinyl is durable, water-resistant, and easy to clean. Vinyl flooring is a popular choice for areas that are prone to moisture, such as basements and laundry rooms.

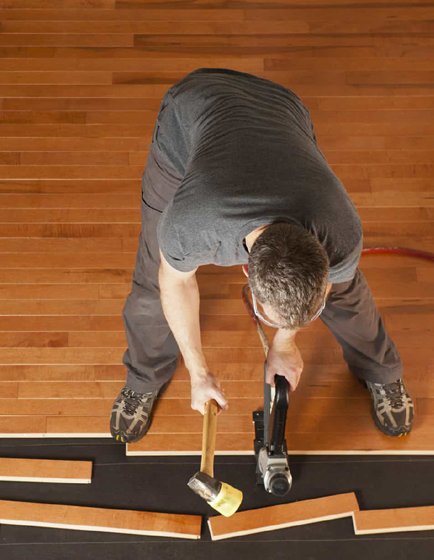
Hardwood flooring installation is a meticulous process that transforms spaces with timeless elegance and durability. Before installation begins, careful planning is essential. First, the subfloor must be clean, level, and dry to ensure a solid foundation. Depending on the chosen installation method, hardwood planks can be nailed, stapled, glued, or floated over the subfloor
Precise measurements and layout are crucial to create an aesthetically pleasing pattern and minimize waste. Afterward, acclimating the hardwood to the environment is vital to prevent warping or gaps. The actual installation involves meticulously fitting each piece together, ensuring tight seams and proper alignment. This craftsmanship demands attention to detail and skill. Once installed, finishing touches like baseboards or molding are added to create a polished look. Proper maintenance, including regular cleaning and refinishing, is necessary to preserve the beauty and longevity of hardwood flooring. Overall, hardwood flooring installation is an investment that adds both value and character to any space, making it a popular choice for homeowners seeking a timeless and elegant flooring solution.
Properly maintained hardwood floors not only add aesthetic appeal to your space but also increase property value. Regular repairs and refinishing can extend the lifespan of your hardwood flooring, making it a sustainable and cost-effective choice for your home.

Hardwood flooring repairs and refinishing are essential processes for maintaining the beauty and longevity of your wooden floors. Over time, hardwood floors can suffer from wear and tear, scratches, dents, or water damage, making repair and refinishing a valuable investment.
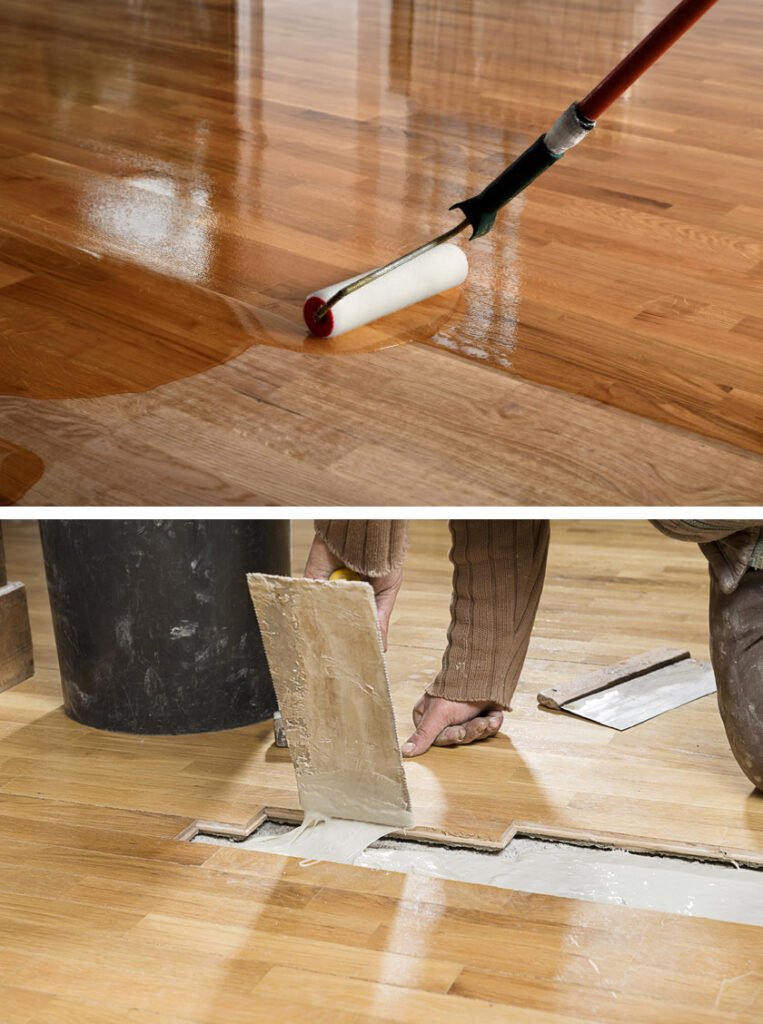
Repairing hardwood floors involves addressing issues like replacing damaged boards, fixing gaps, or filling in scratches and gouges. Skilled professionals assess the extent of damage and use appropriate techniques to restore the floor’s integrity.
Refinishing hardwood floors enhances their appearance and durability. This process involves sanding away the old finish, revealing a fresh surface, and applying new stain and sealant. It revitalizes the wood, giving it a renewed luster and protecting it from future damage. Properly maintained hardwood floors not only add aesthetic appeal to your space but also increase property value. Regular repairs and refinishing can extend the lifespan of your hardwood flooring, making it a sustainable and cost-effective choice for your home.

The installation of floor and wall tiles is a meticulous process that requires careful planning and precision. To begin, it’s essential of course to prepare the surface properly. This involves ensuring that the substrate is clean, level, and free from any cracks or imperfections. Depending on the surface material, it may need to be primed or smoothed with a suitable underlayment.
Next, the layout is critical. Accurate measurements and layout lines are established to ensure that the tiles are evenly spaced and aligned. Adhesive or mortar is applied to the substrate, and the tiles are carefully pressed into place, often using tile spacers to maintain consistent gaps. For walls, it’s crucial to start tiling from the center and work outward to achieve balanced aesthetics. Once the tiles are set, grout is applied to fill the gaps, and excess grout is wiped away. Proper curing time is necessary before sealing the tiles to protect them from moisture and stains. The result is a beautiful and durable surface that enhances the aesthetics and functionality of a space. Professional installation is recommended for the best outcome, but with patience and the right tools, it’s possible for DIY enthusiasts to tackle this project.

Installing vinyl flooring is a popular and cost-effective way to revamp the look of your home. The process typically involves the following steps:
Installing vinyl flooring is a popular and cost-effective way to revamp the look of your home. The process typically involves the following steps:
- Preparation: Begin by clearing the room of furniture and ensuring the subfloor is clean, dry, and smooth. Repair any imperfections, and if necessary, use a leveling compound.
- Underlayment: Depending on the type of vinyl flooring, you may need to install an underlayment. This helps with moisture resistance, sound absorption, and cushioning.
- Layout: Plan the layout of your vinyl planks or tiles, ensuring they align aesthetically. Start from the center of the room or a prominent feature for the best visual effect.
- Adhesive: Apply adhesive or self-adhesive backing to the back of the vinyl planks or tiles. Follow the manufacturer’s instructions for the correct adhesive type and application method.
- Installation: Carefully place the vinyl flooring in the desired pattern, making sure to press out any air bubbles and secure the edges tightly.
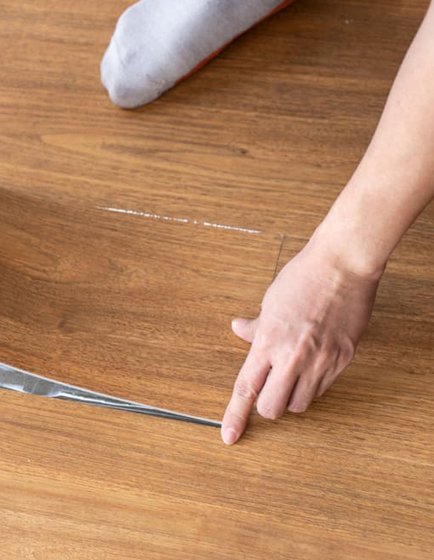
- Trimming: Use a utility knife or vinyl cutter to trim excess material along walls and edges.
- Finishing: Install baseboards or quarter-round molding to cover expansion gaps and give a polished appearance.
